启用树莓派的I2C功能
1
2
3
| sudo apt-get install -y python-smbus
sudo apt-get install -y i2c-tools
sudo raspi-config
|
1
| Interfacing Options-->I2C-->enable
|
安装库文件
1
| sudo python -m pip install --upgrade pip setuptools wheel
|
PIL 库
1
| sudo apt-get install python-pil python3-pil
|
Adafruit-SSD1306 库
1
| git clone https://github.com/adafruit/Adafruit\_Python\_SSD1306.git
|
连接屏幕
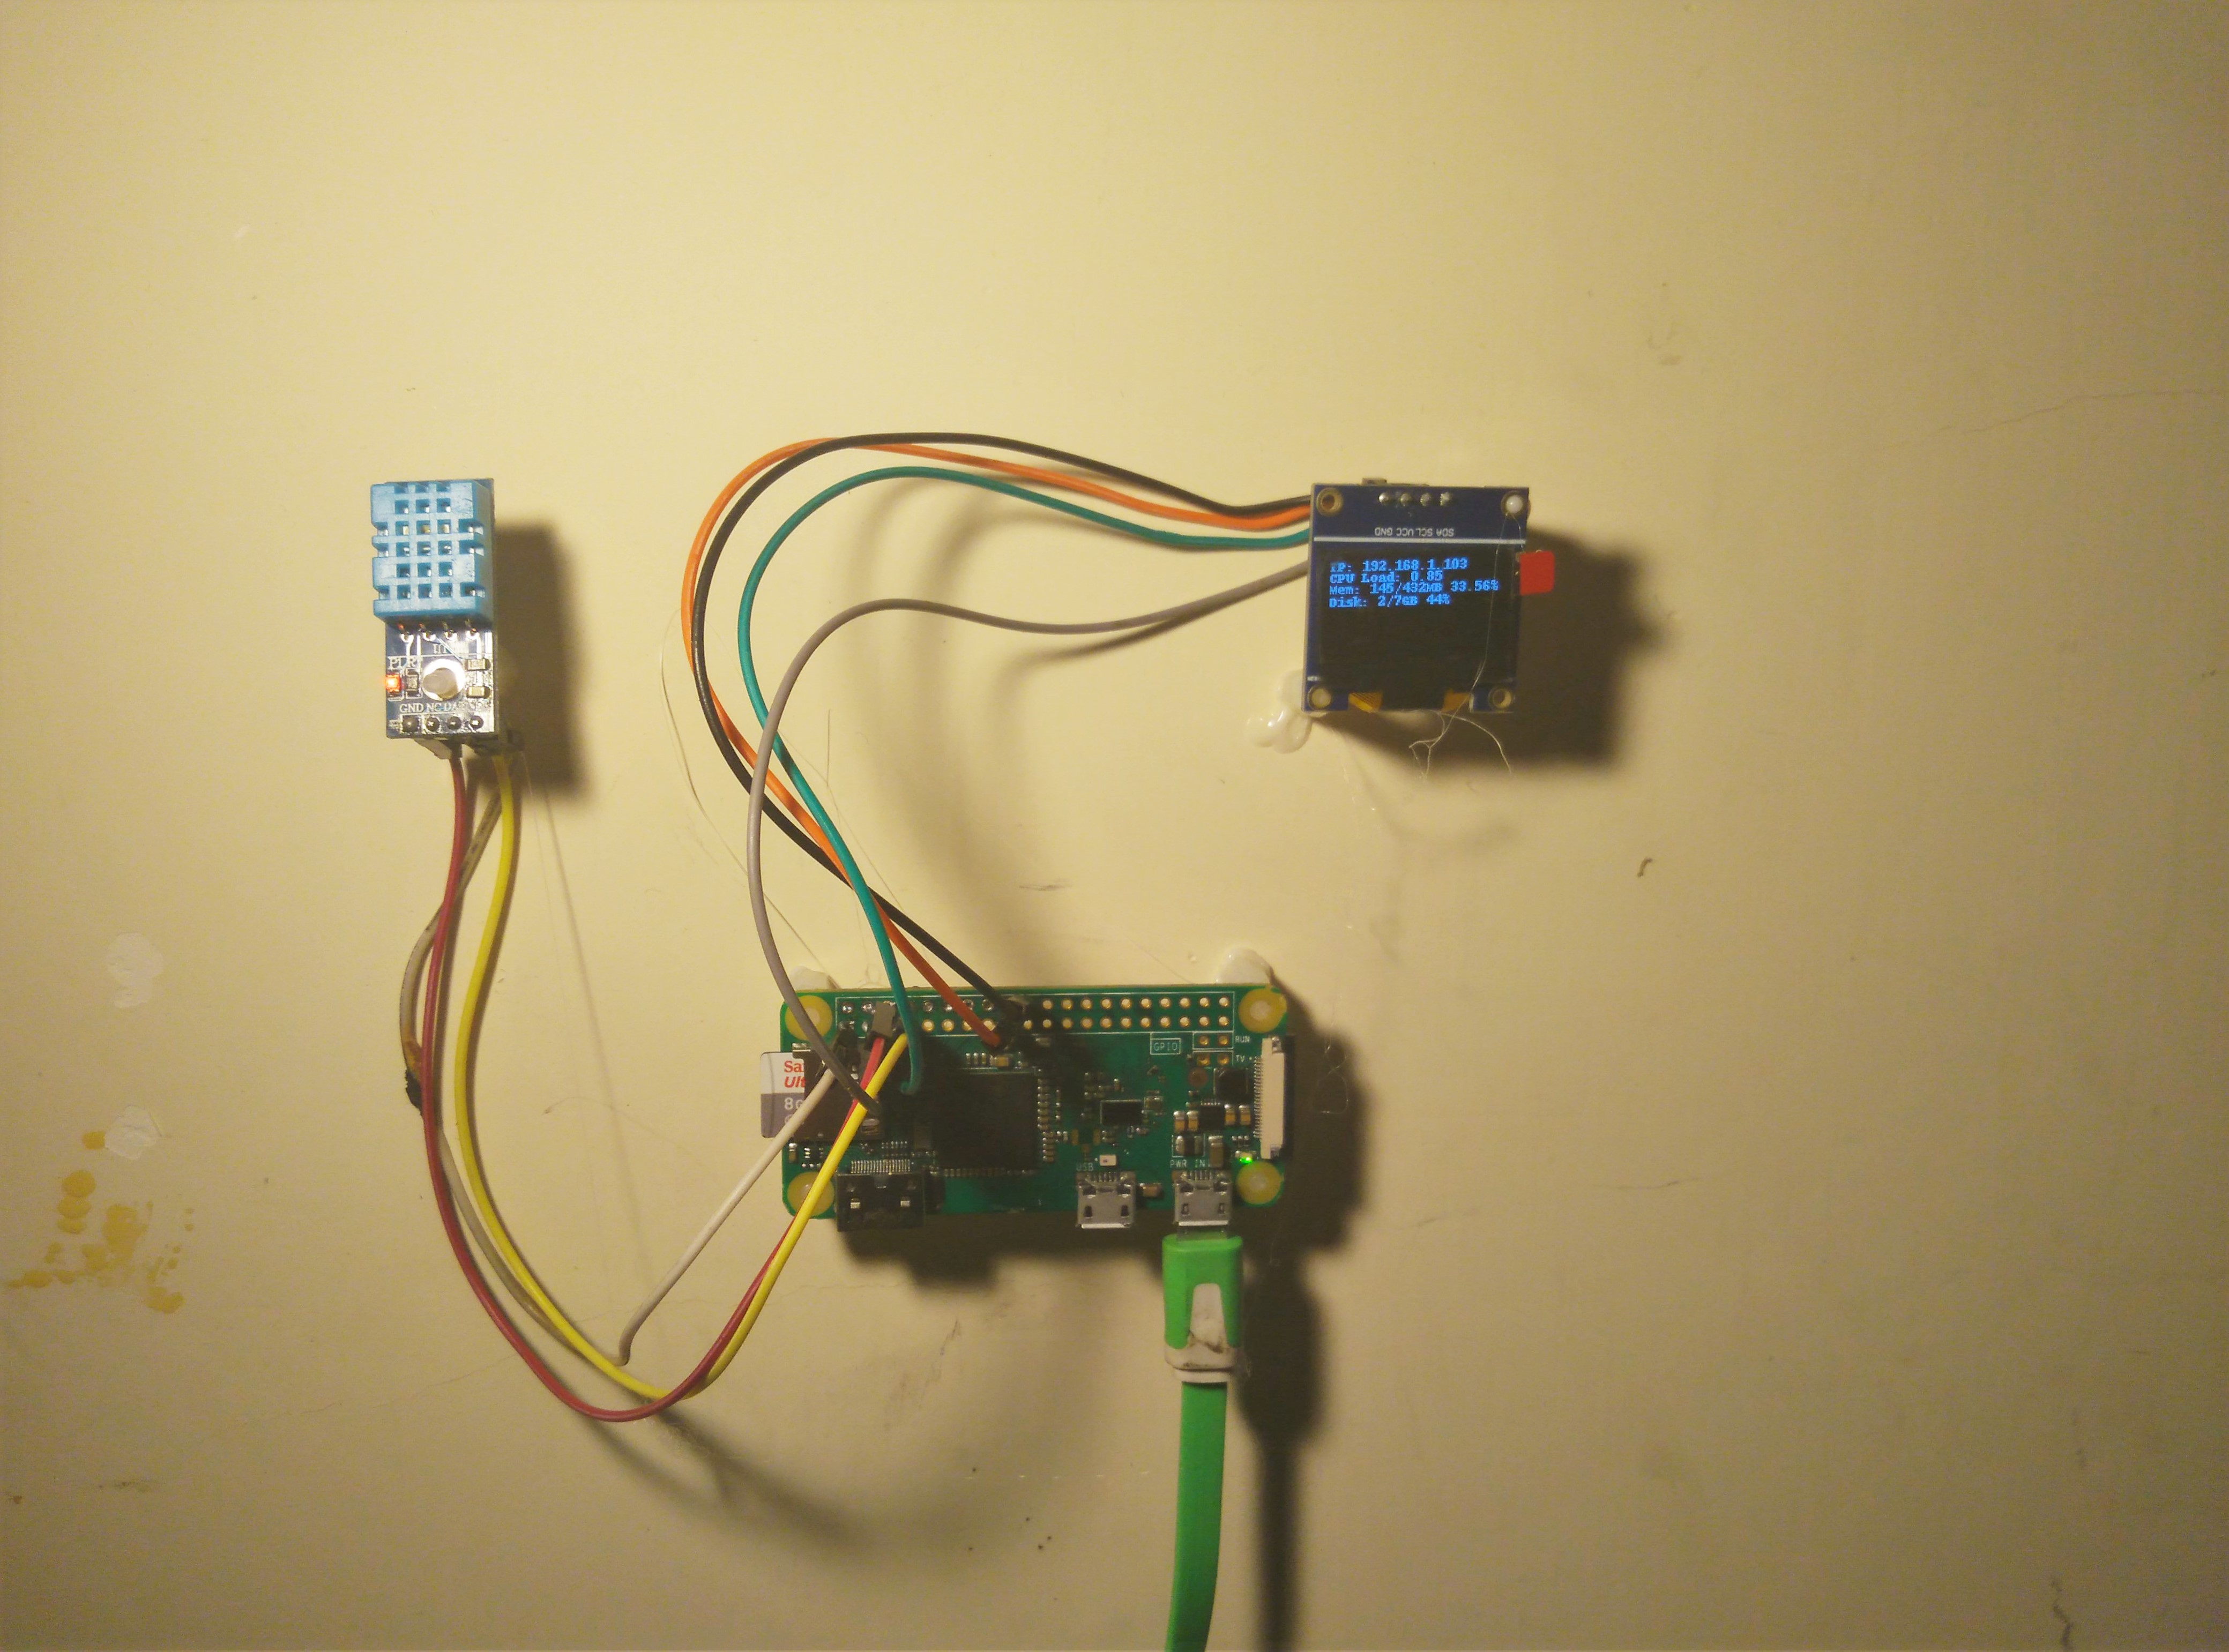
 屏幕 GND 接树莓派 GND 屏幕 VCC 接树莓派 3V3 屏幕 SDA 接树莓派 SDA 屏幕 SCL 接树莓派 SCL
检测是否识别到 I2C 设备
运行
在之前克隆的代码中包含了可以直接运行的示例源码
1
| sudo nano ~/Adafruit\_Python\_SSD1306/examples/stats.py
|
修改屏幕类型
1
2
3
4
5
6
7
8
| # 128x32 display with hardware I2C:
# disp = Adafruit\_SSD1306.SSD1306\_128\_32(rst=RST)
# 128x64 display with hardware I2C:
disp = Adafruit\_SSD1306.SSD1306\_128\_64(rst=RST)
# Note you can change the I2C address by passing an i2c\_address parameter like:
# disp = Adafruit\_SSD1306.SSD1306\_128\_64(rst=RST, i2c\_address=0x3C)
|
运行
1
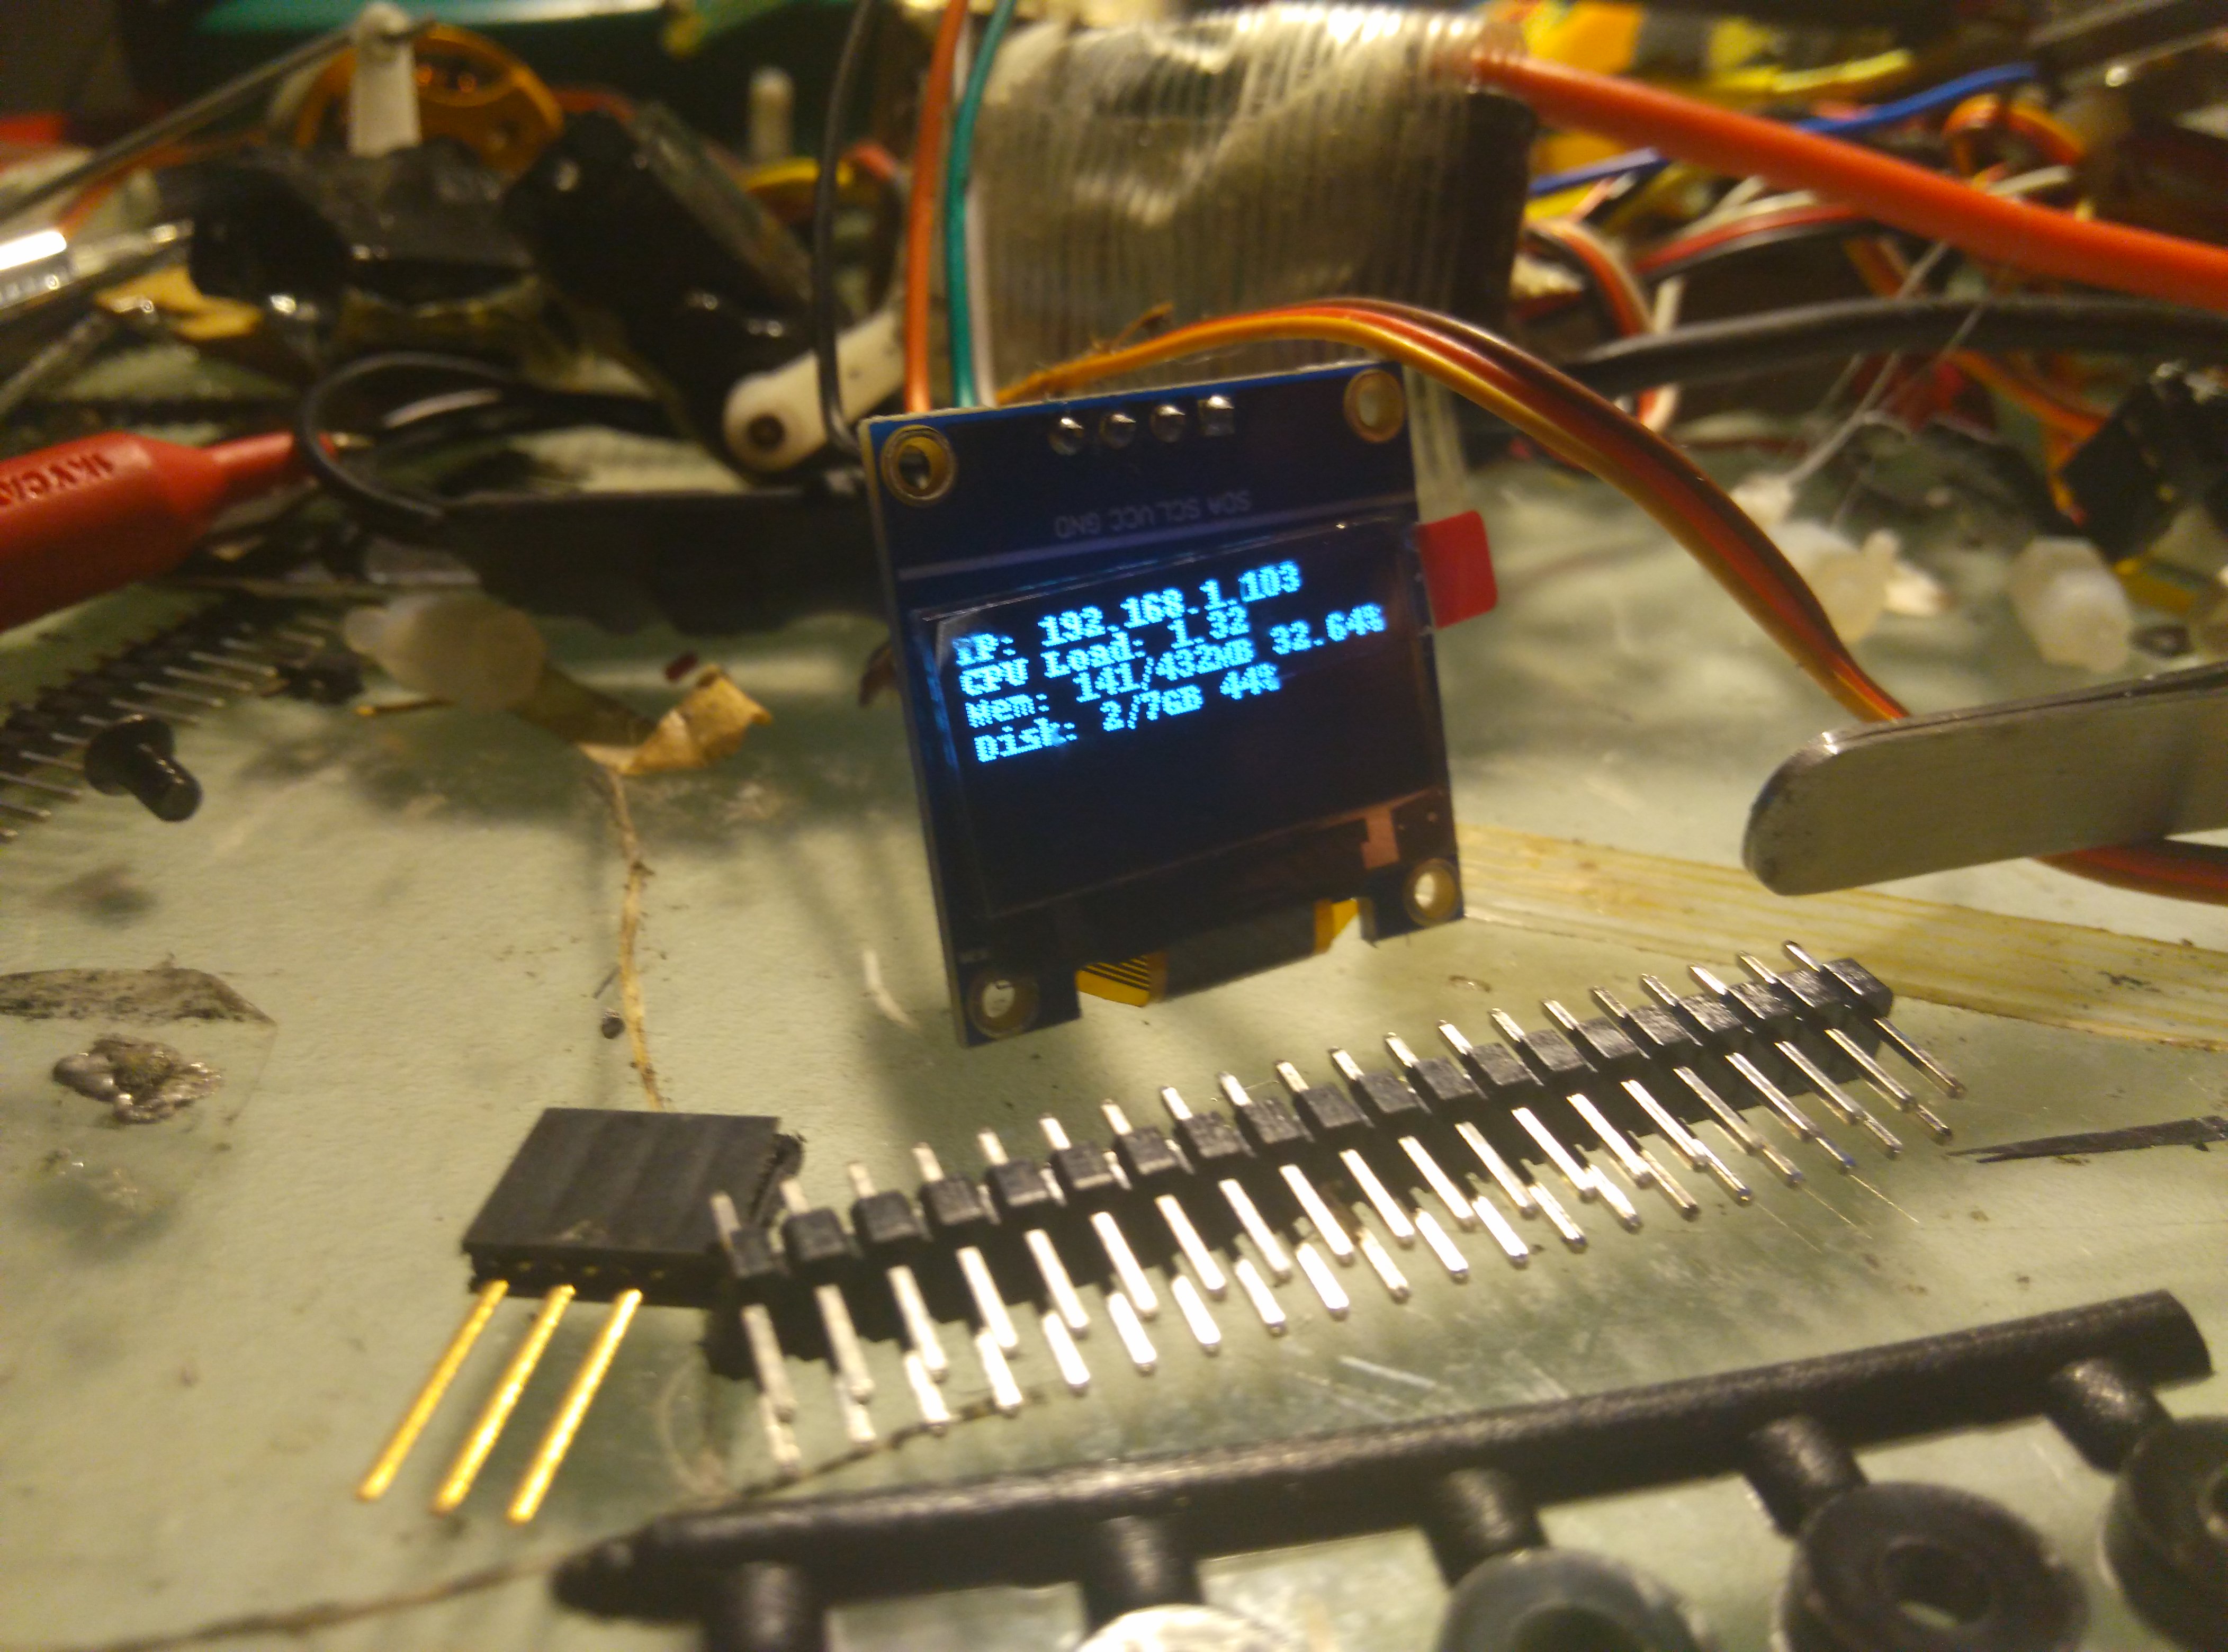
| sudo python ~/Adafruit\_Python\_SSD1306/examples/stats.py
|

1
| sudo python ~/Adafruit\_Python\_SSD1306/examples/image.py
|

 屏幕 GND 接树莓派 GND 屏幕 VCC 接树莓派 3V3 屏幕 SDA 接树莓派 SDA 屏幕 SCL 接树莓派 SCL

